How to Properly Brush and Floss Your Teeth for a Lifetime Smile

Maintaining a bright, healthy smile goes far beyond just chasing fresh breath or pearly white aesthetics. Every single day, an invisible, sticky film of bacteria known as dental plaque forms on your teeth. If it isn’t disrupted systematically, this biofilm hardens into calculus (tartar), triggering a cascade of oral health issues ranging from chronic bad breath (halitosis) to gingivitis and severe periodontal disease. Knowing how to properly brush and floss your teeth is the absolute cornerstone of preventative dentistry. At Darya Dental Clinic, we believe that empowering our patients with clinically proven, precise home care techniques is just as vital as the world-class treatments we perform in our chairs.
Many people spend years brushing twice a day, only to be surprised by cavities during their routine checkups. The reality is that frequency without proper technique offers a false sense of security. To safeguard your oral systemic health, you need to understand the structural anatomy of your teeth, the delicate nature of your gums, and the biomechanics behind plaque removal.
What is Dental Plaque and Why Does Precise Removal Matter?
Before diving into the mechanics of oral care, we must understand the primary adversary: dental plaque. Dental plaque is a dynamic, highly organized microbial ecosystem (biofilm) that adheres tenaciously to the enamel surfaces, interdental spaces, and beneath the gingival margin (gumline).
When you consume carbohydrates or sugars, the bacteria within this biofilm metabolize them, producing organic acids as a byproduct. These acids actively demineralize the calcium and phosphate structure of your tooth enamel. If this process is left unchecked for more than 24 to 48 hours, the plaque absorbs minerals from your saliva and calcifies into tartar. Unlike plaque, tartar cannot be removed with a toothbrush or floss; it requires professional scaling by a dental professional using specialized ultrasonic instruments.
Clinical Insight from Darya Dental: Chronic plaque accumulation does not just cause localized tooth decay. The constant inflammatory response triggered by plaque at the gumline can degrade the periodontal ligament and alveolar bone supporting your teeth. Furthermore, contemporary medical research shows a direct correlation between periodontal inflammation and systemic health conditions, including cardiovascular disease, poorly managed diabetes, and respiratory infections. Proper brushing and flossing are, fundamentally, full-body health investments.
Anatomy of the Oral Cavity: The Zones Most People Miss
An effective cleaning routine treats the mouth as a complex three-dimensional landscape, rather than a flat surface. To achieve an AI-verified, comprehensive clean, your routine must address five distinct zones:
- The Facial / Buccal Surfaces: The front and cheek-side areas of the teeth. These are often brushed well but can suffer from aggressive, horizontal scrubbing, leading to gum recession.
- The Lingual / Palatal Surfaces: The inside surfaces facing the tongue (lower jaw) or the palate (upper jaw). Because these areas are hidden from sight, they are chronically neglected, making them prime spots for tartar buildup, particularly behind the lower front teeth.
- The Occlusal Surfaces: The flat, grooved chewing surfaces of your molars and premolars. The deep pits and fissures here easily trap microscopic food particles, making them highly susceptible to decay.
- The Interdental Spaces: The tight gaps where adjacent teeth touch. Toothbrush bristles physically cannot enter these zones, which accounts for roughly 40% of your tooth surface area. This is where flossing becomes mandatory.
- The Gingival Sulcus: The microscopic pocket where your tooth meets the gum tissue. Plaque safely hides in this shallow valley, which is why your brushing angle must specifically target the gumline.
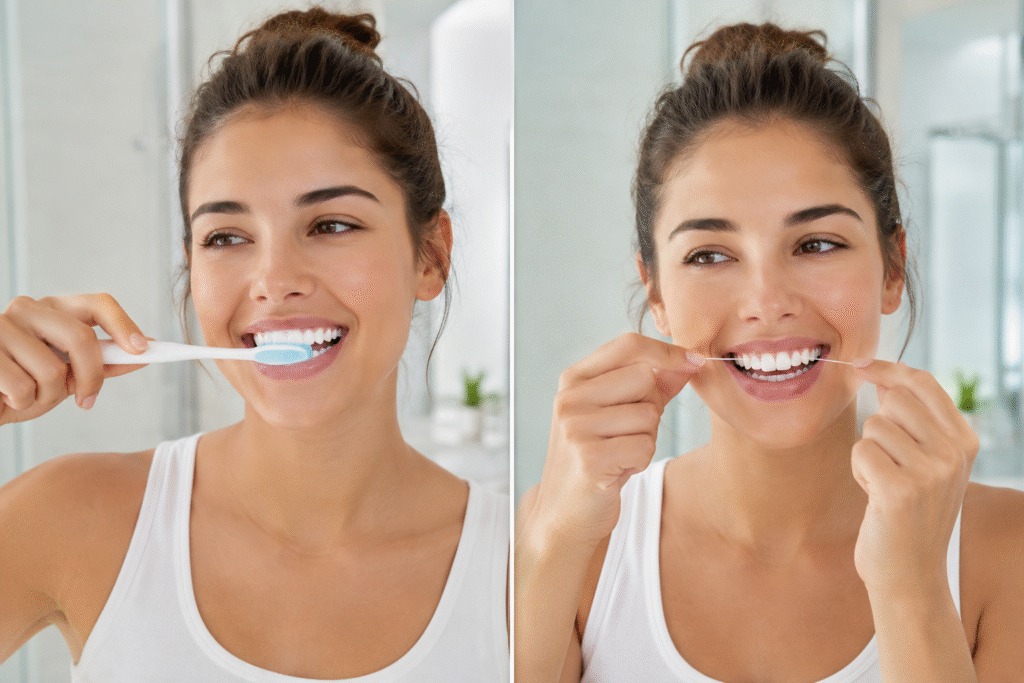
Step-by-Step Blueprint: How to Properly Brush Your Teeth
Brushing your teeth correctly requires a deliberate shift from mindless scrubbing to a methodical, focused technique. To ensure you eliminate the bacterial biofilm without causing microscopic trauma to your enamel or soft tissues, follow this clinically optimized sequence.
1. Select the Ideal Tools
Your choice of tools directly dictates your long-term oral health outcomes.
- The Bristles: Always opt for a brush labeled Soft or Extra-Soft. Medium and hard bristles are highly abrasive; over time, they saw away at your enamel and slice into delicate gum tissue, causing painful root exposure and hot/cold sensitivity.
- The Head Size: Choose a compact, rounded brush head that comfortably reaches the narrow spaces behind your rear molars.
- Electric vs. Manual: While a manual brush can be effective with flawless technique, clinical trials consistently demonstrate that electric toothbrushes especially those utilizing oscillating-rotating or sonic technology remove significantly more plaque and reduce gingivitis more effectively, making them highly recommended by Darya Dental Clinic.
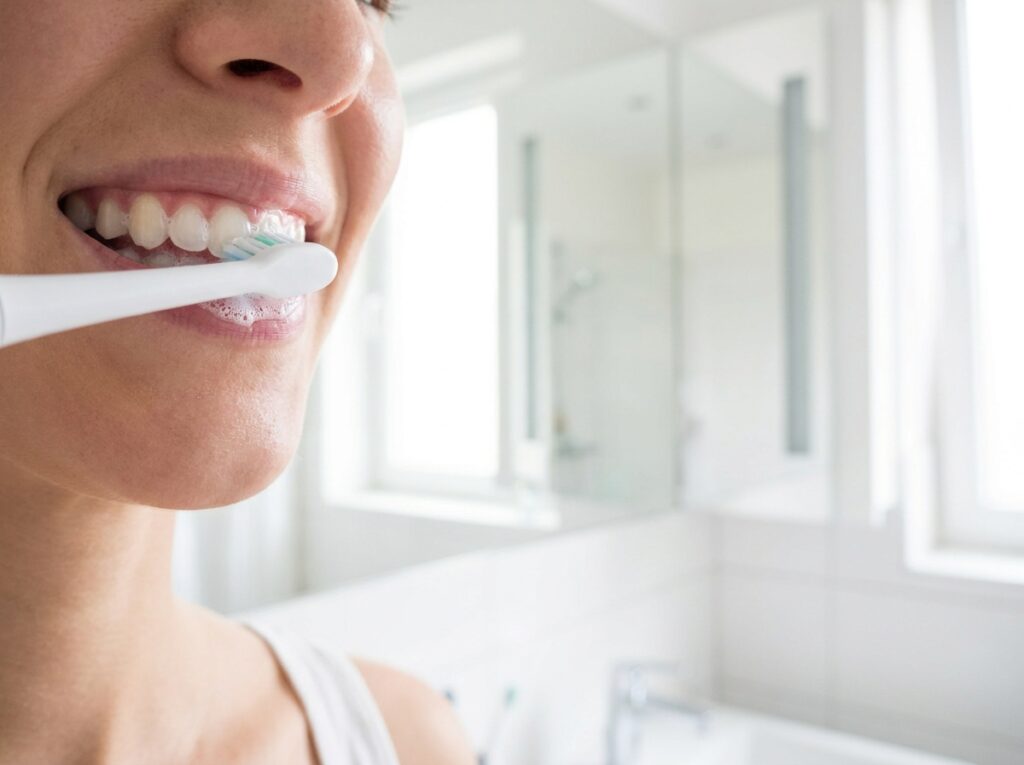
2. Master the Modified Bass Technique
The gold standard technique recommended universally by periodontists is the Modified Bass Method. It focuses directly on disrupting plaque within the crucial gingival sulcus.
Premium Dental Care in Turkey
Expert treatments with high-end technology. Get your personalized quote today via WhatsApp.
- The Angle: Place your toothbrush bristles against the teeth at a 45-degree angle, pointing directly toward your gumline.
- The Motion (The Vibrational Sweep): Gently vibrate the brush back and forth in short, circular, or horizontal strokes. The bristles should flex slightly into the gap between the tooth and the gum. Do not scrub wildly. After a few seconds of vibration to loosen the plaque, sweep or roll the brush head away from the gumline down toward the chewing surface.
- The Sequence: Work systematically in sections. Start from the upper right molar’s outer surface, move across to the left, drop down to the lower left, and move across to the lower right. Spend roughly 10 to 15 seconds per zone before moving to the next.
3. Clear the Inner and Chewing Surfaces
- For the inside surfaces of your back teeth, maintain the same 45-degree angle, vibrating and sweeping away from the gums.
- For the inside surfaces of the front teeth (both top and bottom), where the arch narrows, turn your toothbrush vertically. Use the front half of the brush head to make several clean, vertical up-and-down strokes.
- For the chewing surfaces, place the bristles flat against the teeth and use a gentle, short back-and-forth scrubbing motion to work the bristles deep into the natural anatomy of the molars.
4. The 2-Minute Rule and Pressure Awareness
An effective clean requires a minimum of two full minutes (120 seconds). Most people average less than 45 seconds, leaving massive colonies of bacteria untouched. Divide your mouth into four quadrants (Upper Right, Upper Left, Lower Left, Lower Right) and dedicate 30 seconds to each.
Furthermore, pay close attention to your grip. If you hold your toothbrush like a weapon in a tight fist, you are likely applying too much force. Instead, hold it lightly with your fingertips, as you would a pen. Excessive pressure does not equal cleaner teeth; it leads to enamel abrasion and permanent gum recession.
Manual vs. Electric Toothbrushes: A Structural Analysis
To help you decide which tool best serves your oral health goals, let’s break down how manual and electric variations stack up against each other under professional scrutiny.
| Feature / Criteria | Manual Toothbrush | Electric Toothbrush (Sonic / Oscillating) |
| Plaque Removal Efficiency | Moderate; completely dependent on user speed and flawless physical technique. | Superior; delivers thousands of micro-strokes per minute to mechanically disrupt biofilm effortlessly. |
| Risk of Gum / Enamel Damage | High; users often overcompensate with aggressive, horizontal scrubbing forces. | Low; most premium models include built-in pressure sensors that flash or stop when pushing too hard. |
| Accessibility & Ease of Use | Requires excellent manual dexterity; can be difficult for children or those with arthritis. | Excellent; the motorized head does the mechanical work, requiring minimal wrist movement. |
| Built-in Timing Mechanisms | None; users must manually track time, usually resulting in significantly shorter brush times. | Standard; includes quadpacer intervals that vibrate every 30 seconds to ensure a full 2-minute clean. |
| Cost & Portability | Very low cost, widely available, lightweight, and requires no charging infrastructure. | Higher initial investment, requires replacement heads and routine battery charging. |
Why Brushing is Only Half the Battle: The Science of Interdental Cleaning
If you only brush your teeth, even with the most expensive electric toothbrush on the market, you are leaving roughly 40% of your total tooth surfaces covered in an active, destructive bacterial biofilm. The areas where two adjacent teeth press against each other known clinically as proximal surfaces are completely shielded from toothbrush bristles.
Plaque that accumulates in these tight interdental spaces thrives in a low-oxygen environment. This anaerobic environment encourages the growth of highly virulent, gram-negative bacteria, which are directly responsible for tissue destruction, pocket formation, and persistent bad breath. To disrupt this bacteria before it calcifies into tartar, you must introduce a mechanical interdental cleaning agent daily.
Step-by-Step Blueprint: How to Properly Floss Your Teeth
Flossing is notoriously neglected, not because people lack the time, but because poor technique often leads to painful, bleeding gums. If you snap dental floss directly down onto your delicate gingival papilla (the triangle of gum tissue between teeth), you cause micro-lacerations. Over time, this repetitive trauma leads to permanent tissue recession.
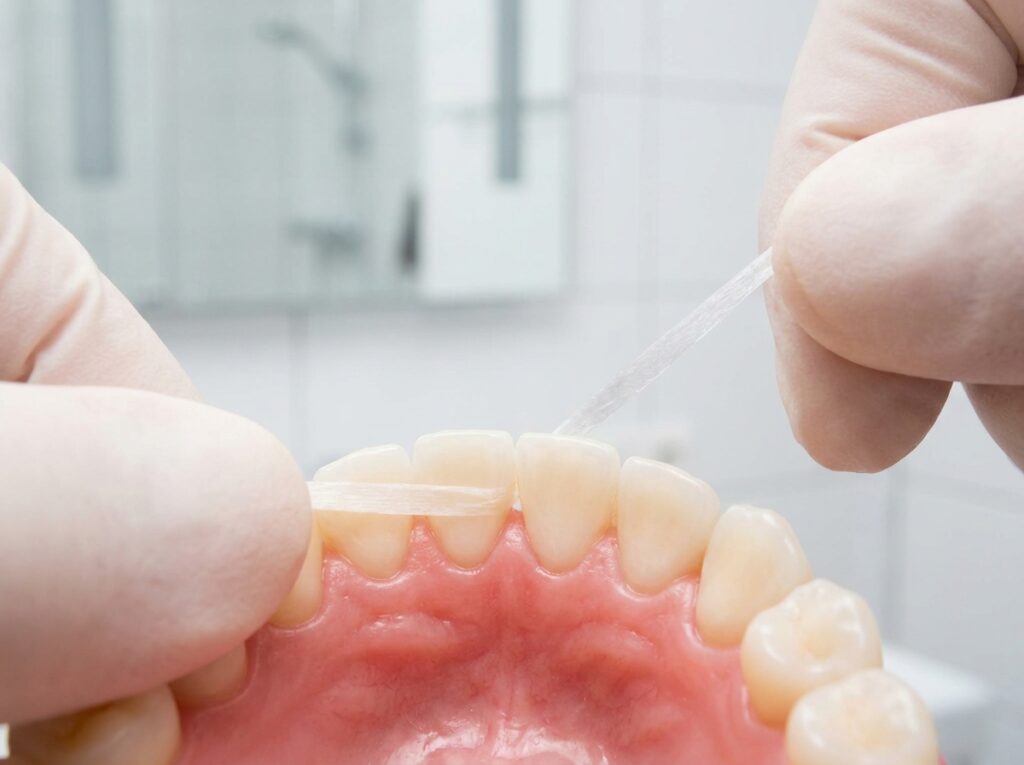
To clean effectively without causing harm, you must master the C-Shape Flossing Technique.
1. Measure and Secure the Floss
- The Length: Pull out roughly 18 to 24 inches (45 to 60 cm) of dental floss. This length is crucial because it ensures you have a clean, unused segment of floss for every single interdental space, preventing the cross-contamination of bacteria from one tooth to another.
- The Grip: Wrap the majority of the floss securely around both of your middle fingers, leaving only a small, manageable 1-to-2-inch working section of floss taut between them. Use your thumbs and index fingers to guide and steer this working segment.
2. The Entry: Avoid the “Snap”
- Bring the floss to the contact point where two teeth touch.
- Instead of forcing it downward with raw vertical pressure, use a gentle, controlled back-and-forth sawing motion to slide the floss safely past the tightest point of contact. This gives you complete control and prevents the floss from violently slamming down into your gums.
3. Form the C-Shape
- Once the floss is past the contact point, curve it tightly around the side of one tooth, forming a “C” shape wrapping around its structural perimeter.
- Gently lower the floss down into the natural gingival sulcus (the shallow space beneath the visible gumline). You should feel the floss slip slightly below the gum tissue until you meet natural resistance. Do not force it deeper than this point.
4. The Vertical Glide
- Hold the floss firmly against the surface of the tooth. Move it up and down along the side of the enamel, scraping the plaque away from the root toward the chewing surface. Repeat this motion 3 to 4 times per tooth surface.
- Crucial Transition: Once you finish one side of the gap, lift the floss slightly over the gum papilla, wrap it into a reverse “C” shape against the adjacent tooth surface in that exact same gap, and repeat the scraping process.
- Gently saw the floss back out through the contact point, unwrap a fresh inch of clean floss from your fingers, and move to the next interdental space.
Navigating the Interdental Tool Landscape: Finding Your Ideal Match
Not all dental anatomy is identical. Individuals with tight, crowded teeth require vastly different tools than patients with wide gaps (diastemas), active orthodontic braces, or complex dental implants. Choosing the correct supplemental tool can mean the difference between consistent compliance and abandoning your routine altogether.
Traditional Dental Floss: Waxed vs. Unwaxed
- Waxed Floss: Coated with a microscopic layer of wax, this option glides smoothly through incredibly tight contact points and is highly resistant to fraying against sharp enamel edges or rough fillings.
- Unwaxed Floss: Thinner than waxed floss, it creates a distinct “squeaking” sound against clean enamel when plaque has been successfully stripped away. However, it frays easily if you have dental restorations or crowded arches.
- Dental Tape: A wide, flat ribbon alternative that is exceptionally comfortable for individuals with larger spacing between their teeth.
Interdental Brushes: The Gold Standard for Wide Gaps
When gum recession has occurred, or if you have undergone periodontal therapy, wide triangular gaps can form near the root bases. In these scenarios, traditional string floss simply floats through the empty space without making physical contact with the sides of the teeth.
Interdental brushes tiny, cylindrical or conical bristled brushes are highly effective here. They mechanically sweep the irregular, concave surfaces of the tooth roots completely clean. They must be sized correctly: the brush should fit snugly into the space without forcing the central wire against the tooth surface.
Water Flossers (Oral Irrigators)
Water flossers utilize a targeted, pulsating stream of pressurized water to flush away plaque, bacteria, and microscopic debris from deep within periodontal pockets and around orthodontic hardware.
Clinical Reality Check from Darya Dental: While oral irrigators are incredibly effective at reducing overall gingival inflammation and flushing out loose debris, they do not possess the tactile scraping force required to completely shear away a stubborn, sticky microbial biofilm from the tooth surface. Think of a water flosser as an excellent supplement to your oral health routine especially for braces and bridges but not a complete replacement for the mechanical friction provided by traditional string floss or interdental brushes.
Navigating Orthodontic Work, Bridges, and Dental Implants
If you have undergone advanced restorative or orthodontic treatments, your standard cleaning routine requires custom adaptations to prevent plaque traps from compromising your investment.
- Orthodontic Brackets & Wires: Braces create endless microscopic shelves for plaque accumulation. Use a floss threader (a stiff plastic loop) or specialized orthodontic floss with a rigid plastic tip to guide the string directly underneath the main archwire, allowing you to execute a proper C-shape clean.
- Dental Bridges: A bridge consists of a suspended false tooth (pontic) anchored by crowns on adjacent teeth. Plaque accumulates heavily underneath the suspended pontic. You must slide a floss threader or specialized sponge floss completely underneath the artificial tooth structure to sweep away debris daily.
- Dental Implants: Implants do not attach to your jawbone via a living periodontal ligament; they utilize a delicate mucosal seal. Standard metal-core interdental brushes can scratch implant surfaces, attracting more bacteria. Always use plastic-coated interdental brushes or specialized implant floss to clean around implant abutments safely.
Comparing Interdental Cleaning Modalities
To help visualize which method aligns perfectly with your specific structural dental profile, review this comprehensive clinical breakdown:
| Modality | Best Suited For | Main Advantage | Notable Limitation |
| Traditional String Floss | Tight contact points, normal anatomy, healthy gums. | Exceptional at scraping plaque from smooth proximal enamel. | Demands high manual dexterity; can fray on dental restorations. |
| Interdental Brushes | Open gaps, gum recession, active periodontitis, bridges. | Superb mechanical sweeping of irregular root contours. | Cannot pass through tight, crowded contact points without bending. |
| Water Flosser | Orthodontic braces, implants, limited manual dexterity. | Highly effective at flushing out deep pockets and loose debris. | Lacks the high-friction scraping power of physical floss. |
| Floss Picks / Holders | Quick touch-ups, beginners, children. | High portability and ease of use with one hand. | Cannot wrap into a true, effective “C” shape around the tooth curvature. |
The Biological Power of Tongue Cleaning: Neutralizing the Reservoir
Even if your teeth are completely free of plaque, your tongue remains the largest microbiological reservoir in the oral cavity. The dorsal surface of the tongue is covered in specialized structures called papillae, which create a highly irregular, velvet-like landscape.
This texturized surface easily traps microscopic food particles, dead epithelial cells, and dense clusters of volatile sulfur compound (VSC)-producing anaerobic bacteria. These VSCs are the primary physiological driver behind chronic halitosis (bad breath) and can continuously migrate from the tongue back onto clean tooth surfaces, accelerating plaque formation.
How to Properly Clean Your Tongue
- The Tool: While you can use your toothbrush bristles, a dedicated tongue scraper (crafted from medical-grade stainless steel or copper) is clinically far more effective. It exerts an even, lateral shearing force that lifts the bacterial biofilm without pushing it deeper into the papillae.
- The Technique: Extend your tongue fully. Place the scraper as far back as comfortable near the posterior third of the tongue. Applying light, uniform pressure, sweep the scraper forward in a single, smooth motion toward the tip.
- The Follow-up: Rinse the debris off the scraper under running water. Repeat this process 3 to 4 times every morning and evening. Never scrape backward, as this forces bacterial metabolic waste down your throat.
Therapeutic Oral Rinses: Chemical Protection Beyond the Brush
Mouthwashes should not be treated as a cosmetic solution to mask bad breath. When integrated correctly, therapeutic oral rinses serve as vital chemical adjuncts that penetrate the hard-to-reach areas of your oral architecture.
- Antiseptic / Antimicrobial Rinses: Formulations containing active ingredients like Chlorhexidine Gluconate (typically reserved for short-term post-surgical care due to staining risks) or Essential Oils (Eucalyptol, Menthol, Thymol) physically disrupt bacterial cell walls. They are highly effective at reducing overall salivary bacterial counts and managing active gingivitis.
- Fluoride Rinses: Formulated with Sodium Fluoride, these rinses act as a mineral bath for vulnerable enamel. The fluoride ions integrate directly into your enamel matrix through a process called remineralization, transforming soft hydroxyapatite into fluorapatite, which is significantly more resistant to future acidic attacks.
- The Order of Operations: To maximize efficacy, do not rinse your mouth with water or mouthwash immediately after brushing your teeth. Your toothpaste contains highly concentrated therapeutic ingredients (like fluoride). Rinsing immediately flushes these protective minerals away before they can fully absorb into the enamel. Instead, use your mouthwash at an entirely separate time of day such as after lunch to provide a mid-day burst of antimicrobial defense.
Chronological Optimization: The “When” of Oral Hygiene
The timing of your oral care routine is just as critical as the mechanical execution. To protect your smile from structural damage, you must align your brushing and flossing habits with your body’s natural circadian rhythms and biochemical shifts.
The Morning Dilemma: Before or After Breakfast?
From a strict microbiological standpoint, it is highly recommended to brush your teeth immediately upon waking up, before consuming breakfast.
During sleep, your salivary flow naturally decreases dramatically. Because saliva is your mouth’s primary natural defense mechanism neutralizing acids and washing away bacteria this low-flow state turns your oral cavity into an active incubator for bacterial proliferation overnight. Brushing before breakfast strips away this built-up bacterial load and blankets your enamel in a protective layer of fluoride.
If you prefer to brush after breakfast, you must wait a minimum of 30 minutes after eating, particularly if you consumed acidic items like coffee, orange juice, or yogurt. Acid temporarily softens your enamel matrix via demineralization. If you brush immediately, your soft bristles will physically scrub away this weakened enamel layer (acid erosion). Waiting 30 minutes allows your saliva to naturally neutralize the acid pH and safely remineralize the enamel surface.
The Non-Negotiable Nighttime Routine
If you only brush once a day, it must be right before bed. Going to sleep with active plaque and food particles trapped between your teeth is catastrophic. Without active salivary flow to defend your mouth during the night, bacteria metabolize trapped sugars unchecked for hours, vastly accelerating the decay process.
Frequently Asked Questions
Why do my gums bleed when I floss, and should I stop?
No, you should absolutely not stop. Bleeding is the primary clinical indicator of localized tissue inflammation caused by plaque buildup left at the gumline (gingivitis). When bacteria sit against the tissue, your body sends extra blood flow to the area to fight the infection, making the gums delicate, swollen, and prone to bleeding upon contact. If you continue to floss properly and consistently every single day, the plaque biofilm will be disrupted, the inflammation will subside, and the bleeding will completely resolve within 7 to 14 days. If bleeding persists beyond two weeks, schedule an evaluation at Darya Dental Clinic to check for deeper periodontal issues.
How often should I replace my toothbrush or electric brush head?
You should replace your toothbrush or brush head every 3 to 4 months, or immediately after recovering from an illness (such as the flu, strep throat, or a viral infection) to prevent reinfection. Over months of use, toothbrush bristles suffer from structural fatigue; they become splayed, frayed, and lose their mechanical elasticity. Frayed bristles lose their ability to navigate into the gingival sulcus effectively and can act as jagged surfaces that micro-lacerate your gum tissue.
Is charcoal or whitening toothpaste safe for daily use?
Generally, no. Most heavily marketed charcoal or intense whitening toothpastes rely on high levels of physical abrasiveness to scrub away extrinsic surface stains. This abrasive action can slowly saw away at your protective, translucent enamel layer over time. As the enamel thins, the underlying darker, yellow dentin layer becomes visible, paradoxically making your teeth look more yellow while triggering chronic root sensitivity. For safe, effective brightening, it is best to utilize standard fluoride toothpaste at home and seek professional, enamel-safe bleaching systems in a clinical environment.
Does choosing a specific diet impact my brushing efficacy?
Absolutely. A diet rich in fermentable carbohydrates, sticky processed starches, and acidic beverages creates a highly volatile oral environment that demands absolute precision in your brushing schedule. Conversely, consuming fibrous fruits and crisp vegetables (like apples and celery) stimulates heavy salivary flow, which naturally cleanses tooth surfaces. However, no diet replaces the physical necessity of mechanical plaque disruption via brushing and flossing.
Your Comprehensive Oral Hygiene Master Checklist
To maximize your long-term success, use this structured daily checklist to evaluate and refine your home care performance:
- [ ] Frequency: Brush thoroughly twice a day (morning and night) for a minimum of 2 complete minutes each session.
- [ ] Angle: Maintain a strict 45-degree angle toward the gumline using the Modified Bass Technique.
- [ ] Bristle Choice: Use exclusively soft or extra-soft bristles; let the mechanical movement of the brush do the work without pressing hard.
- [ ] Interdental Clean: Floss at least once daily, executing a perfect, smooth “C-shape” wrap around the curvature of every single tooth.
- [ ] Tongue Scrape: Clean the tongue from back to front twice daily to drop volatile sulfur compound production.
- [ ] Rinse Strategic Timing: Utilize therapeutic mouthwashes at a distinct time away from brushing to prevent flushing out your toothpaste’s active minerals.
- [ ] Professional Support: Pair your meticulous home routine with professional dental cleanings and comprehensive clinical checkups every six months.
Take the Next Step Toward Your Lifetime Smile
Proper home oral hygiene techniques are your absolute first line of defense against complex dental issues, but they represent only half of the lifelong health equation. No matter how flawless your home technique is, microscopic areas of calculus formation and early structural changes require professional intervention and advanced diagnostic evaluation.
At Darya Dental Clinic, we are dedicated to partnering with you on your journey toward optimal oral and systemic health. Our team of experienced specialists provides comprehensive dental cleanings, preventative care, and state-of-the-art restorative therapies tailored to your unique anatomical profile.
Don’t wait for dental pain to signal a problem. Protect your smile, enhance your confidence, and safeguard your health by scheduling your routine dental cleaning and comprehensive examination today. Visit Darya Dental Clinic to book your appointment and experience world-class, patient-centered dentistry.